Tutorial - Adding images
The first thing to do when we have your MobileEngine API set up is to add some images to it. That gives you something to actually match!
Needed
A MobileEngine API from https://services.tineye.com/.
Your server’s IP registered with MobileEngine, or a username/password.
cURL, a command-line tool used in the examples. If you are not familiar with this tool you can read about and download it from http://curl.haxx.se/.
Adding images
You can add images to your API one at a time. Here, we add an image by giving a URL to download it from. Put your company name where it says <company>, and you might need to add your username and password,
like https://username:password@mobileengine…
curl https://mobileengine.tineye.com/<company>/rest/add/               \
    -F "url=https://img.tineye.com/samples/tutorials/364068_a.jpg"     \
    -F "filepath=example1.jpg"
The curl command creates a POST request which says to send two parameters,
url and filepath, to your MobileEngine API. example1.jpg
is the name by which the image will be known in your API after it has been downloaded
from img.tineye.com. The name can be any string you like, and does not have to end with .jpg.
What comes back should be
{
    "status": "ok",
    "error": [],
    "method": "add",
    "result": []
}
Which says it worked. If there had been problems there’d be a message in the error list.
To add more images to your API, you just send more of the same url and filepath parameters. Here are two more cURL calls:
curl https://mobileengine.tineye.com/<company>/rest/add/              \
    -F "url=https://img.tineye.com/samples/tutorials/364069_a.jpg"    \
    -F "filepath=example2.jpg"

curl https://mobileengine.tineye.com/<company>/rest/add/              \
    -F "url=https://img.tineye.com/samples/tutorials/364070_a.jpg"    \
    -F "filepath=example3.jpg"
After running those two commands you will have three images in your API, ready for searching.
Of course, you don’t have to use cURL, and probably won’t when you really get going, but it is a quick way to try things out. The complete description of the add request is at POST add.
Here is what the example images used above look like. Note that they have been pre-scaled to the recommended size: 600 pixels in the smallest dimension:
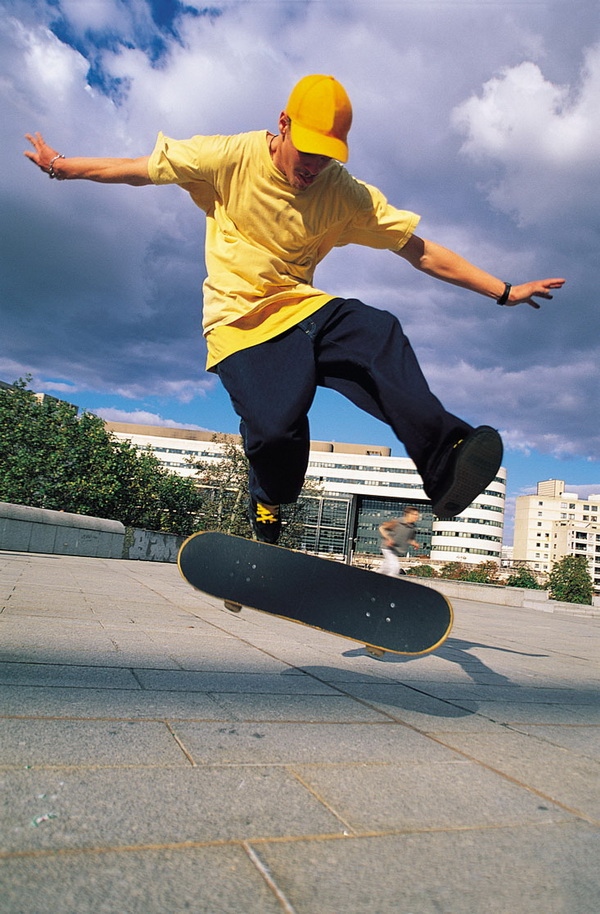
example1.jpg: 600x914 pixels.
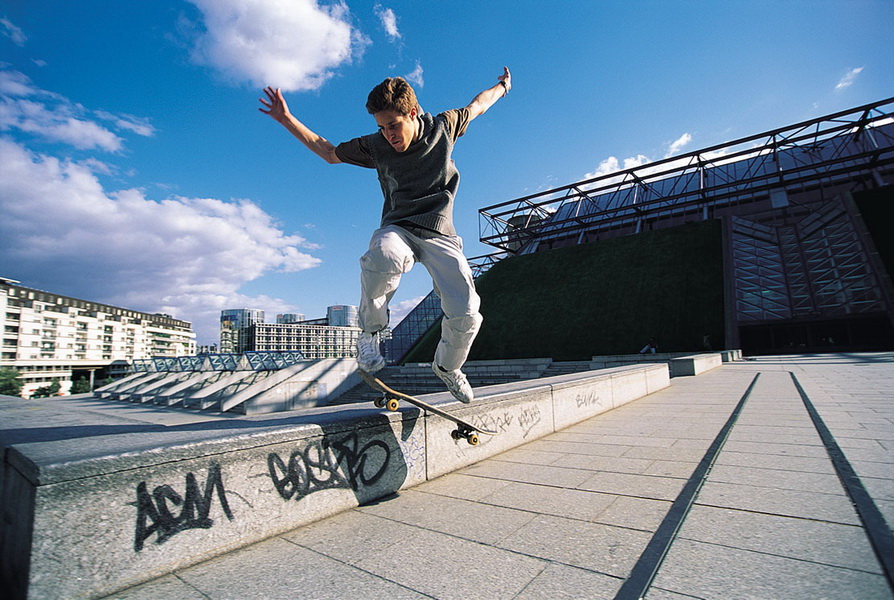
example2.jpg: 894x600 pixels.

example3.jpg: 623x600 pixels.
Now that you have images loaded, you can go to the next Tutorial - Searching.